How to Make Homemade Drinkable Yogurt Fast
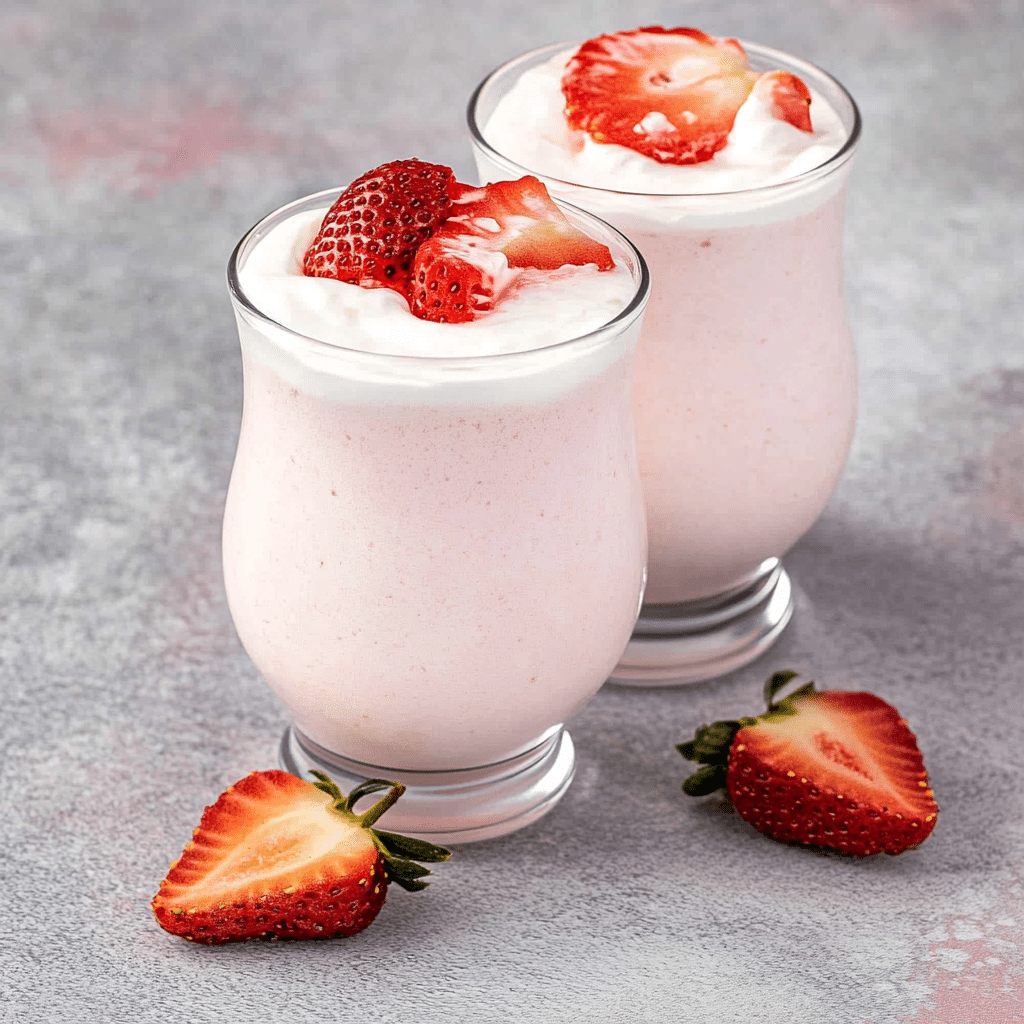
Discover the joy of making creamy, homemade drinkable yogurt right in your kitchen! This Homemade Drinkable Yogurt recipe offers a quick, healthy, and delicious probiotic boost that’s perfect for breakfast, snacks, or anytime you crave something fresh and nourishing. With simple ingredients and straightforward steps, you’ll be sipping your own probiotic-rich yogurt in no time.
Why You’ll Love This Recipe
- Quick and easy: You can prepare this delicious drinkable yogurt in just a few simple steps without any special equipment.
- Health-packed probiotics: Homemade drinkable yogurt is loaded with live cultures that support gut health naturally.
- Customizable flavor: You can tweak sweetness, tartness, and thickness to suit your personal taste perfectly.
- Budget-friendly: Everything needed is basic and affordable, making your smoothie bar more accessible.
- Natural and fresh: No preservatives or additives — just wholesome ingredients you trust.
Ingredients You’ll Need
The ingredients for this homemade drinkable yogurt are refreshingly simple but carefully chosen to give you that creamy texture and subtle tangy flavor. Each element plays a key role in getting the perfect balance of good bacteria, consistency, and taste.
- Milk: Whole milk gives a rich, velvety base, but you can also use low-fat or plant-based milk depending on your preference.
- Yogurt starter culture: A small amount of plain yogurt with live active cultures seeds the fermentation process.
- Optional sweetener: Honey, maple syrup, or a few drops of stevia can add just the right hint of sweetness if desired.
- Flavor extracts (optional): Vanilla or almond extract can elevate the flavor without adding sugar.
- Water: Used to thin the yogurt to a drinkable consistency, ensuring it’s refreshingly smooth.
Variations for Homemade Drinkable Yogurt
Make this recipe your own! It’s wonderfully versatile, allowing you to adjust ingredients and flavors to fit dietary needs, seasonal produce, or fun new taste combinations.
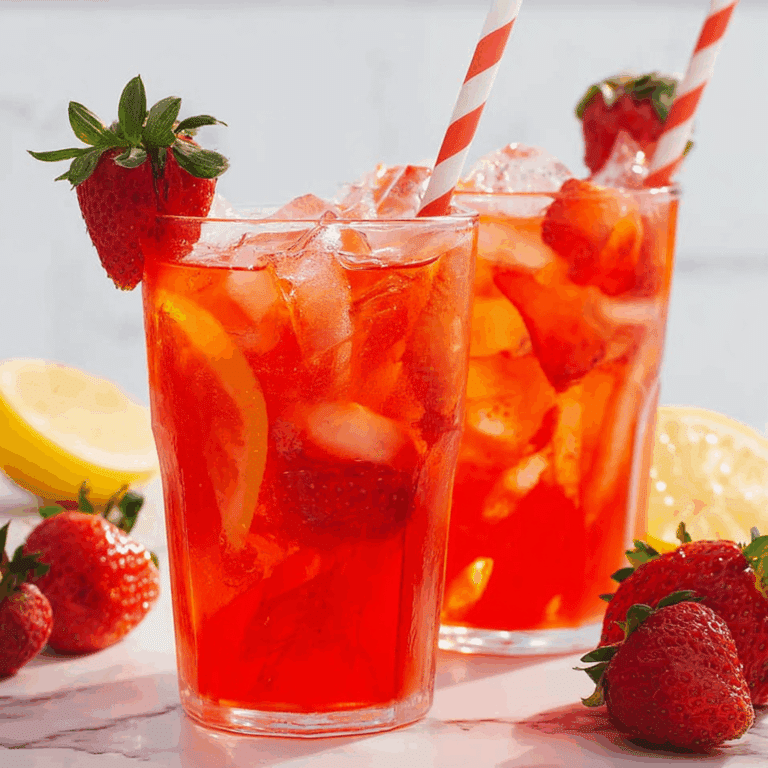
- Fruit-infused: Blend in fresh or frozen berries or mango for a fruity twist bursting with antioxidants.
- Dairy-free: Use coconut, almond, or oat milk along with a plant-based yogurt starter for a vegan version.
- Spiced: Add a pinch of cinnamon or cardamom for a warm, comforting flavor.
- Protein boost: Mix in a scoop of your favorite protein powder for a post-workout pick-me-up.
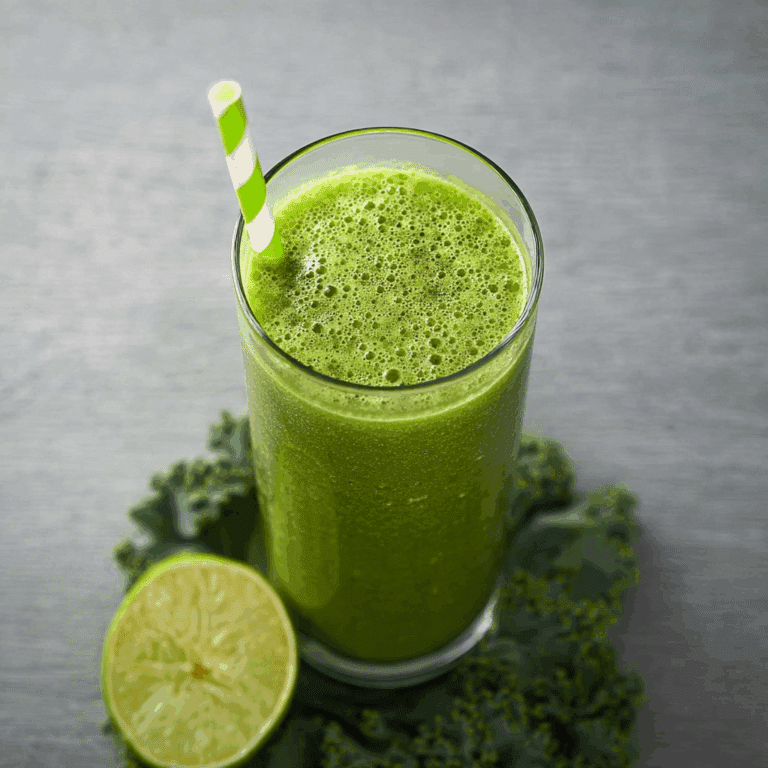
- Green goodness: Blend in spinach or kale leaves for added vitamins without overpowering the taste.

How to Make Homemade Drinkable Yogurt
Step 1: Heat the Milk
Start by gently heating the milk on the stove until it reaches about 180°F (82°C). This process kills any unwanted bacteria and alters proteins for a creamier texture. Once heated, allow the milk to cool down to around 110°F (43°C) — the perfect temperature to add your yogurt starter.
Step 2: Add the Starter Culture
Mix in a few tablespoons of plain yogurt with live active cultures to the cooled milk. Stir gently but thoroughly to evenly distribute the bacteria essential for fermentation.
Step 3: Incubate
Pour the mixture into a clean container, cover it, and keep it warm at about 110°F (43°C) for 6 to 8 hours. You can use a yogurt maker, an oven with the light on, or a warm spot in your kitchen. During this time, the live cultures multiply, thickening and adding tangy flavor.
Step 4: Thin and Flavor
Once the yogurt has set, blend it with a little cold water until you reach your desired drinkable consistency. Add your sweetener or flavor extracts if you want a bit more flavor complexity.
Step 5: Chill and Enjoy
Refrigerate the homemade drinkable yogurt for at least 2 hours to enhance the flavor and texture before serving. Now, it’s ready to sip fresh or add to your favorite recipes.
Pro Tips for Making Homemade Drinkable Yogurt
- Use fresh milk: Fresher milk leads to better-tasting yogurt with fewer off-flavors.
- Maintain temperature: Keep incubation steady around 110°F to ensure proper fermentation and avoid sourness.
- Starter quality matters: Choose plain yogurt with live, active cultures for authentic probiotic benefits.
- Adjust thickness: Control how thick or thin your yogurt is by varying the amount of water blended in at the end.
- Sanitize all equipment: Use clean jars and utensils to prevent contamination and spoilage.
How to Serve Homemade Drinkable Yogurt
Garnishes
Add fresh berries, chopped nuts, a sprinkle of chia seeds, or a drizzle of honey to your drinkable yogurt for an inviting texture and flavor boost that adds both nutrition and a pop of color.
Side Dishes
This yogurt pairs beautifully with crunchy granola, fresh fruit slices, or warm whole-grain toast, making it a balanced and satisfying snack or breakfast.
Creative Ways to Present
Serve homemade drinkable yogurt in mason jars with colorful striped straws, or layer it with fruit puree for a visually stunning smoothie parfait that guests will love.
Make Ahead and Storage
Storing Leftovers
Keep your homemade drinkable yogurt in an airtight container in the refrigerator for up to one week, ensuring it stays fresh and maintains all probiotic benefits.
Freezing
You can freeze drinkable yogurt in an ice cube tray or airtight container. Thaw in the fridge overnight and stir well before using, though texture may be slightly different after freezing.
Reheating
Drinkable yogurt is best served cold, so avoid reheating to preserve live cultures and flavor. If you prefer it warmer, gently stir it into a warm tea or smoothie instead of heating directly.
FAQs
Can I use non-dairy milk for homemade drinkable yogurt?
Yes! Plant-based milks like coconut, almond, or oat milk work well when paired with a dairy-free yogurt starter culture, allowing you to enjoy homemade drinkable yogurt even on a dairy-free diet.
How long does homemade drinkable yogurt last in the fridge?
Properly stored, it will keep its freshness and probiotic qualities for up to 7 days in the refrigerator, though the flavor may become tangier over time.
Why is my drinkable yogurt too sour?
Over-fermentation or too warm incubation can cause excess sourness; try reducing incubation time slightly or maintaining a stable incubation temperature around 110°F.
Can I drink homemade drinkable yogurt every day?
Absolutely! Daily consumption can support digestive health thanks to its rich probiotics, but always listen to your body and adjust intake as needed.
Do I need a yogurt maker to make homemade drinkable yogurt?
No special equipment is needed; a warm spot in your home like an oven with the light on or a thermos can serve as an incubator to ferment your yogurt successfully.
Final Thoughts
Making your own homemade drinkable yogurt is a rewarding way to nourish your body with natural probiotics while enjoying fresh, creamy flavors tailored to you. Give this easy recipe a try today and discover how delicious, healthy, and budget-friendly your new favorite probiotic treat can be!
PrintHomemade Drinkable Yogurt

Make creamy, probiotic-rich homemade drinkable yogurt with simple ingredients and easy steps. Perfect for a healthy breakfast or snack, this customizable recipe supports gut health and offers fresh, natural flavor without preservatives.
- Prep Time: 10 minutes
- Cook Time: 8 hours
- Total Time: 8 hours 10 minutes
- Yield: 4 cups 1x
- Category: Beverages
- Method: Fermentation
- Cuisine: Universal
- Diet: Gluten Free
Ingredients
Main Ingredients
- 4 cups whole milk (or low-fat or plant-based milk of your choice)
- 3 tablespoons plain yogurt with live active cultures (yogurt starter culture)
- 1/4 to 1/2 cup cold water (to thin to drinkable consistency)
Optional Add-ins
- Sweetener of choice: honey, maple syrup, or stevia, to taste
- Flavor extracts (optional): 1 teaspoon vanilla or almond extract
Instructions
- Heat the Milk: Gently heat the milk on the stove until it reaches about 180°F (82°C) to kill unwanted bacteria and alter proteins for a smoother texture. Then, cool the milk to approximately 110°F (43°C) for fermentation readiness.
- Add the Starter Culture: Stir in 3 tablespoons of plain yogurt with live active cultures into the cooled milk. Mix gently but thoroughly to ensure even distribution of bacteria.
- Incubate: Transfer the mixture into a clean container, cover it, and keep warm at about 110°F (43°C) for 6 to 8 hours using a yogurt maker, oven with light on, or a warm spot. This allows cultures to multiply and thicken the yogurt with a tangy flavor.
- Thin and Flavor: After incubation, blend the set yogurt with cold water until it reaches your preferred drinkable consistency. Add optional sweeteners or flavor extracts as desired for enhanced taste.
- Chill and Enjoy: Refrigerate the drinkable yogurt for at least 2 hours to improve flavor and texture. Serve chilled, plain or with garnishes, and enjoy your fresh probiotic drink.
Notes
- Use fresh milk for better flavor and fewer off-flavors.
- Maintain incubation temperature steady around 110°F to prevent overly sour yogurt.
- Choose plain yogurt with live, active cultures as your starter for authentic probiotic benefits.
- Adjust thickness by varying the amount of water blended in at the end to suit your preference.
- Sanitize all jars and utensils before use to avoid contamination and spoilage.
Nutrition
- Serving Size: 1 cup
- Calories: 150
- Sugar: 8g
- Sodium: 120mg
- Fat: 8g
- Saturated Fat: 5g
- Unsaturated Fat: 2g
- Trans Fat: 0g
- Carbohydrates: 12g
- Fiber: 0g
- Protein: 8g
- Cholesterol: 30mg
Keywords: homemade yogurt, drinkable yogurt, probiotic drink, fermented dairy, healthy breakfast, gut health